Why don't my bulbs work?
Apr 8, 2022
By
Stuart Mitchell
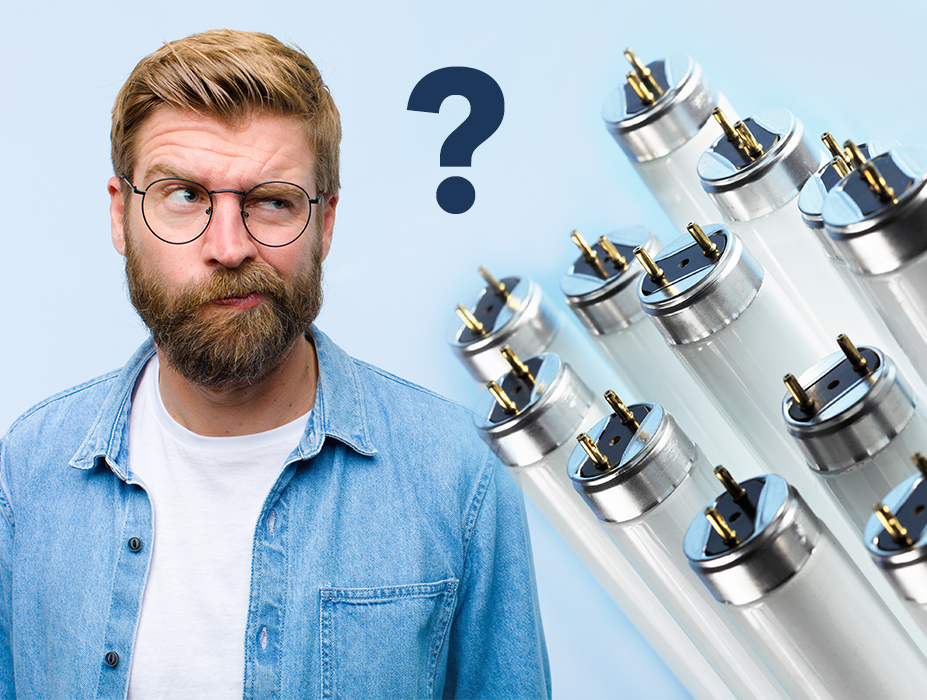
It’s very frustrating when you buy replacement bulbs, install the bulbs into fly traps, and the bulbs don’t light-up. Below is a quick checklist you can use to troubleshoot and easily solve your bulb problems.
1. Use the correct bulbs and starters

First, make sure your replacement bulbs are the correct wattage, diameter, and length. Second, make sure your starters work with the bulb wattage. For all this information, check the bulb label. You can learn how to read bulb labels from our blog,The ultimate guide for replacing bulbs in your fly lights. If you know the model number(s) of your insect light trap(s), you can easily find the bulbs you need by downloading ourlamp conversion reference guide.
2. Bulb doesn’t light up or flickering
Let's shine a little light on one of the most common issues when it comes to new bulbs not lighting-up!
Sometimes bulbs will flicker and take a while to light-up. This is due to the ballast used inside the light trap. Ballast brand, design, and age are related to the flickering. It needs a bit more patience from you, just wait up to 5 minutes to see if the flickering disappears.
3. Environment and temperature
Bulb starting time and light output are affected by surrounding air temperature. With winter’s freezing temperatures, don’t store bulbs inside cars, trucks, or unheated buildings. Cold bulbs won’t light-up. Allow bulbs to come to room temperature and then install the bulbs into the fly traps (according to instructions for use).
4. Damage
Minor cracks in the bulb glass may result during transportation. Sometimes, you have to look very closely to see small cracks in the glass. If the bulbs are cracked, you need to get replacement bulbs.
If you are still experiencing bulb problems, PestWest is here to help! Contact us for additional support.
Helpful hint: UVA from fluorescent bulbs degrades over time. Be sure to change bulbs and starters in your fly traps annually to maintain optimum performance.
Sale Products


Categories